|
|
Flying
Geese Guide Instructions |
|
|
P.O. Box 244
|
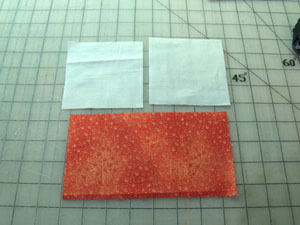
1. Cut fabric according to dimensions on the instruction sheet. (Example: if you want a 3 inch finished square, you’ll cut two squares 3-1/2 x 3-1/2 inches and one rectangle 3-1/2 x 6-1/2 inches square.)
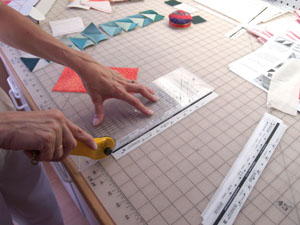
2. Cut the paper guide into a left and right side by slicing down the center black strip.
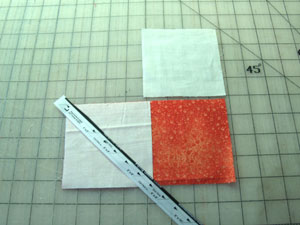
3. Place one square on the left hand side of the rectangle making sure that they line up on the outside edges. Place the "L" guide in the upper left hand corner of the square and the 3 x 6 arrow in the lower right hand corner. For best results, use 12-15 stitches per inch. Sew on the “sew” line and trim on the cut line. Press to the dark side.
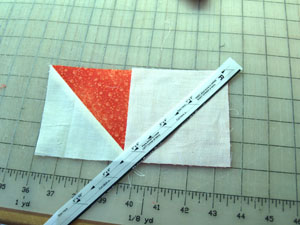
4. Place second square on the right hand side of the rectangle making sure that they line up on the outside edges. Place the "R" guide in the upper right hand corner of the square and the 3 x 6 arrow in the lower left hand corner. For best results, use 12-15 stitches per inch. Sew on the “sew” line and trim on the cut line. Press to the dark side. Our unique guides offer the flexibility of making multi-sized Flying Geese. A single guide will produce Flying Geese from 1 x 2 to 5 x 10 inches. Order
your Flying Geese Guide today!
|