|
|
Super
Duper QST Guide Instructions |
|
|
P.O. Box 244
|
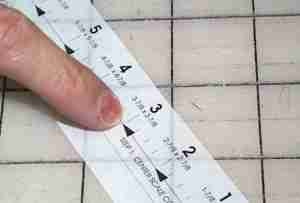
1. Cut fabric according to dimensions on the paper guide. (Example: if you want a 3 inch finished square, you’ll cut your material 4-1/4 x 4-1/4 inches square.)
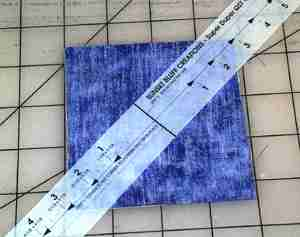
2. Place fabrics right sides together. Using our special translucent paper guides (which make it easy to line up on the fabric properly), place the “cutting” line with the arrows diagonally and centered from corner to corner. Pin on the “cutting” line. 3. For best results, use 12-15 stitches per inch. Sew on the “sew” line, lifting your presser foot at the center and jogging over to the other “sew line”.
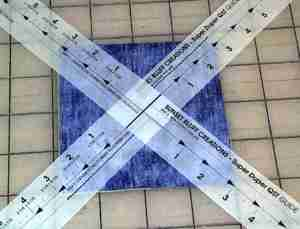
4. Place the second guide on opposite corners, sewing again as before.
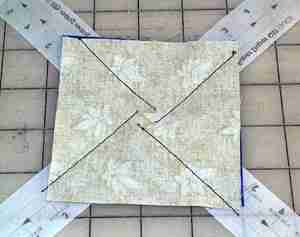
5. The square should look like this if you have sewed it correctly.
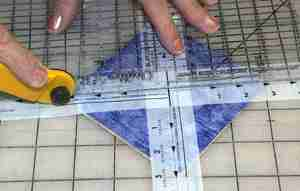
6. Cut on the cutting lines. Carefully remove the paper, open and press. Sew two sets together, making two QST squares.
Our unique guides offer the flexibility of making multi-sized QSTs. No need to buy different sizes with our guides. They cover QSTs from 1” square to 6 “ squares Order
your Super Duper QST Guide today!
|


